Remember how I mentioned (a few times) that I made an upholstered headboard from cardboard and promised that I would post a tutorial for it and totally never did?
Still not doing it yet.
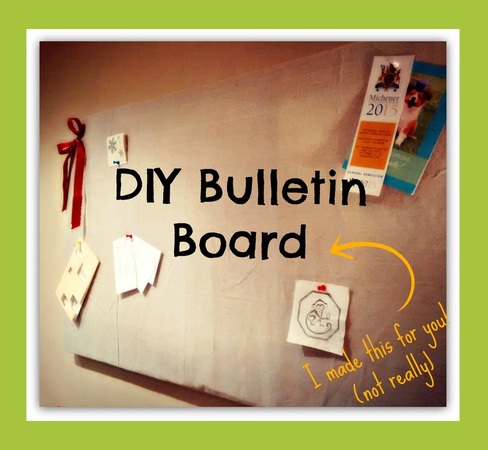
But here is something else awesome that I made from cardboard (among other things) and I want to show it off.
Have a look at my DIY: Bulletin Board, or "cork board alternative" as I like to call it. So chic, I know.
Still not doing it yet.
But here is something else awesome that I made from cardboard (among other things) and I want to show it off.
Have a look at my DIY: Bulletin Board, or "cork board alternative" as I like to call it. So chic, I know.

 RSS Feed

